This comprehensive, professional guide details the step-by-step process, crucial site selection criteria, and management of common challenges associated with hand venipuncture. This knowledge is vital for minimizing patient discomfort, preventing complications, and improving first-attempt success rates when you need to insert IV in the hand.
Table of Contents
- Essential Anatomy for Hand Venipuncture
- Pre-Procedure Preparation: Supplies and Patient Care
- Step-by-Step Procedure: How to Insert IV in the Hand
- Overcoming Common Challenges and Complications
- Refining Technique: The Role of IV Practice Kits
- Training Resource Spotlight: Medtacedu IV Practice Kit
- IV Insertion Key Steps and Best Practices Summary
- Frequently Asked Questions (FAQs)
- References and Further Reading
Essential Anatomy for Hand Venipuncture
Successful IV insertion hinges on selecting a suitable vein. The dorsal venous network of the hand provides several accessible target veins, but they are often more mobile and have thinner walls than veins in the forearm.
Key Veins of the Dorsum
When seeking a site to insert IV in the hand, the primary targets are branches of the Dorsal Venous Arch. This arch is formed by the union of the Dorsal Metacarpal Veins, which run between the metacarpal bones. These veins are generally visible, palpable, and sufficiently large for most peripheral IV catheters (IVCs).
- Dorsal Metacarpal Veins: Run parallel to the metacarpals and are excellent choices. They allow the use of longer catheters, which tend to be more stable.
- Cephalic Vein (dorsal aspect): Starts on the radial (thumb) side of the wrist and is often a robust choice, offering good blood flow.
- Basilic Vein (dorsal aspect): Starts on the ulnar (little finger) side.
Avoidance Areas and Risks
The dorsal aspect of the hand is densely packed with nerves and tendons. Improper technique or deep insertion risks:
- Nerve Damage: The superficial branches of the radial and ulnar nerves lie close to the veins. Hitting a nerve causes sharp, radiating pain and potential long-term deficit.
- Bone Proximity: Veins on the back of the hand are very close to bone. If the needle passes through the vein wall, it immediately hits the bone, making the vein roll and potentially causing pain.
- Joints: Avoid inserting the IVC directly over a joint (e.g., the wrist or knuckles) to prevent irritation and displacement upon movement.
Pre-Procedure Preparation: Supplies and Patient Care
Thorough preparation ensures efficiency, minimizes patient anxiety, and maximizes infection control—all crucial factors when learning how to insert IV in the hand.
Essential Equipment Checklist
Ensure all necessary supplies are ready and within reach to maintain aseptic technique and workflow:
- IV Catheter (IVC): Select the appropriate gauge (typically 20G or 22G for the hand, depending on the patient and required flow rate).
- Tourniquet: A flat, latex-free tourniquet.
- Antiseptic Solution: Chlorhexidine gluconate (CHG) or povidone-iodine (Povidone-Iodine).
- Extension Set/Hub: Pre-flushed with normal saline.
- Securement Device: Transparent semipermeable dressing (TSD) and tape.
- Personal Protective Equipment (PPE): Gloves (non-sterile are sufficient for peripheral access).
- Sharps Container: Immediately accessible for safe disposal.
Site Selection and Patient Preparation
Before attempting to insert IV in the hand, position the patient comfortably with the hand slightly lowered to allow gravity to assist in venous filling. Encourage the patient to open and close their fist several times. If veins are difficult to locate, gently applying heat (e.g., a warm compress) can induce vasodilation and improve visibility, significantly aiding the process.
Step-by-Step Procedure: How to Insert IV in the Hand
The following steps adhere to standard clinical guidelines for peripheral intravenous access.
Step 1: Apply Tourniquet and Vein Stabilization
Apply the tourniquet approximately 4 to 6 inches above the chosen venipuncture site. Palpate the vein to confirm it is soft, bouncy, and straight. Because hand veins are prone to rolling, anchor the vein firmly. Use the thumb of your non-dominant hand to gently pull the skin distal to the insertion site, stabilizing the vein from below and preventing it from slipping away from the needle.
Step 2: Cleanse the Site
Cleanse the site rigorously according to facility policy, typically using the CHG solution in a back-and-forth scrubbing motion for at least 30 seconds. Allow the antiseptic solution to air dry completely. Failure to let it dry will increase the risk of infection and can cause a stinging sensation.
Step 3: Insert the Catheter
Hold the IVC with the bevel up. Inform the patient of a sharp stick. Enter the skin at an angle of approximately 10 to 15 degrees. This shallow angle is critical for hand veins, which lie superficially. Once the tip of the needle is in the skin, advance it until you observe a flashback of blood in the catheter hub.
Step 4: Thread the Catheter and Withdraw the Needle
After observing the flashback, slightly lower the angle of the catheter to almost flat against the skin (2 to 5 degrees). Advance the entire unit a few more millimeters to ensure the catheter tip is fully inside the vein lumen. Then, thread the plastic catheter completely into the vein while stabilizing the vein with one finger. Engage the safety mechanism on the needle and immediately place it in the sharps container.
Step 5: Secure and Flush
Apply gentle pressure just proximal to the insertion site to temporarily stop the blood flow. Release the tourniquet. Attach the pre-flushed extension set/hub to the catheter and secure it with the TSD. Perform a final flush with saline, observing for any signs of infiltration (swelling, pain, coolness). If the IV flushes easily and the patient denies pain, secure the dressing fully and document the procedure.
Overcoming Common Challenges and Complications
Even experienced practitioners face challenges when they insert IV in the hand. Anticipating and mitigating these issues is key to professional competence.
Managing Vein Roll and Infiltration
- Vein Roll: The most common challenge in hand venipuncture. To combat this, ensure maximum traction is applied to the skin below the insertion site. Use two fingers to stabilize the vein above and below the intended point of entry.
- Infiltration: Occurs when the IV fluid enters the surrounding subcutaneous tissue instead of the vein. Signs include local swelling, pain, and coolness. If infiltration occurs, remove the IVC immediately, apply pressure, elevate the limb, and attempt a new insertion site, always choosing a site proximal to the previous infiltration.
Preventing Phlebitis and Infection
Phlebitis (inflammation of the vein) and infection are risks with any peripheral IV. Hand IVs can be particularly susceptible due to movement and proximity to potential contaminants. To minimize risk:
- Use the smallest effective catheter gauge.
- Ensure strict adherence to the CHG drying time.
- Limit the duration of catheter placement (current guidelines suggest assessing the need for removal or site rotation every 72-96 hours).
- Use proper hand hygiene before and after the procedure.
Refining Technique: The Role of IV Practice Kits
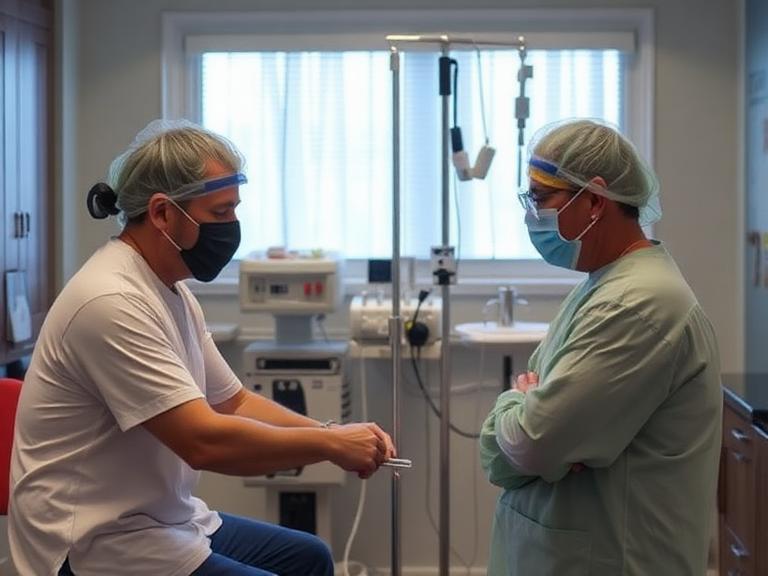
Proficiency in how to insert IV in the hand is achieved primarily through repeated, deliberate practice. Clinical environments offer limited opportunities, making high-fidelity simulation training invaluable.
Simulating Real-World Conditions
Effective simulation training moves beyond static arm models. The best training tools mimic the feel of skin resistance, the tactile difference between vein and surrounding tissue, and the realistic blood flashback necessary for mastering the skill before attempting the procedure on a live patient. This type of practice builds the critical muscle memory required for successful vein stabilization and shallow-angle insertion in difficult areas like the hand.
The Value of Wearable Technology
Wearable IV practice kits have emerged as a superior training tool. They allow trainees to practice not just the technical insertion, but also the practical elements of anchoring a mobile vein on a dynamic surface. This portable, lifelike simulation provides the repetition necessary to confidently insert IV in the hand and other peripheral sites under various conditions.
Training Resource Spotlight: Medtacedu Wearable IV Practice Kit
For students and professionals seeking convenient, repeated practice, specialized kits offer a robust solution.
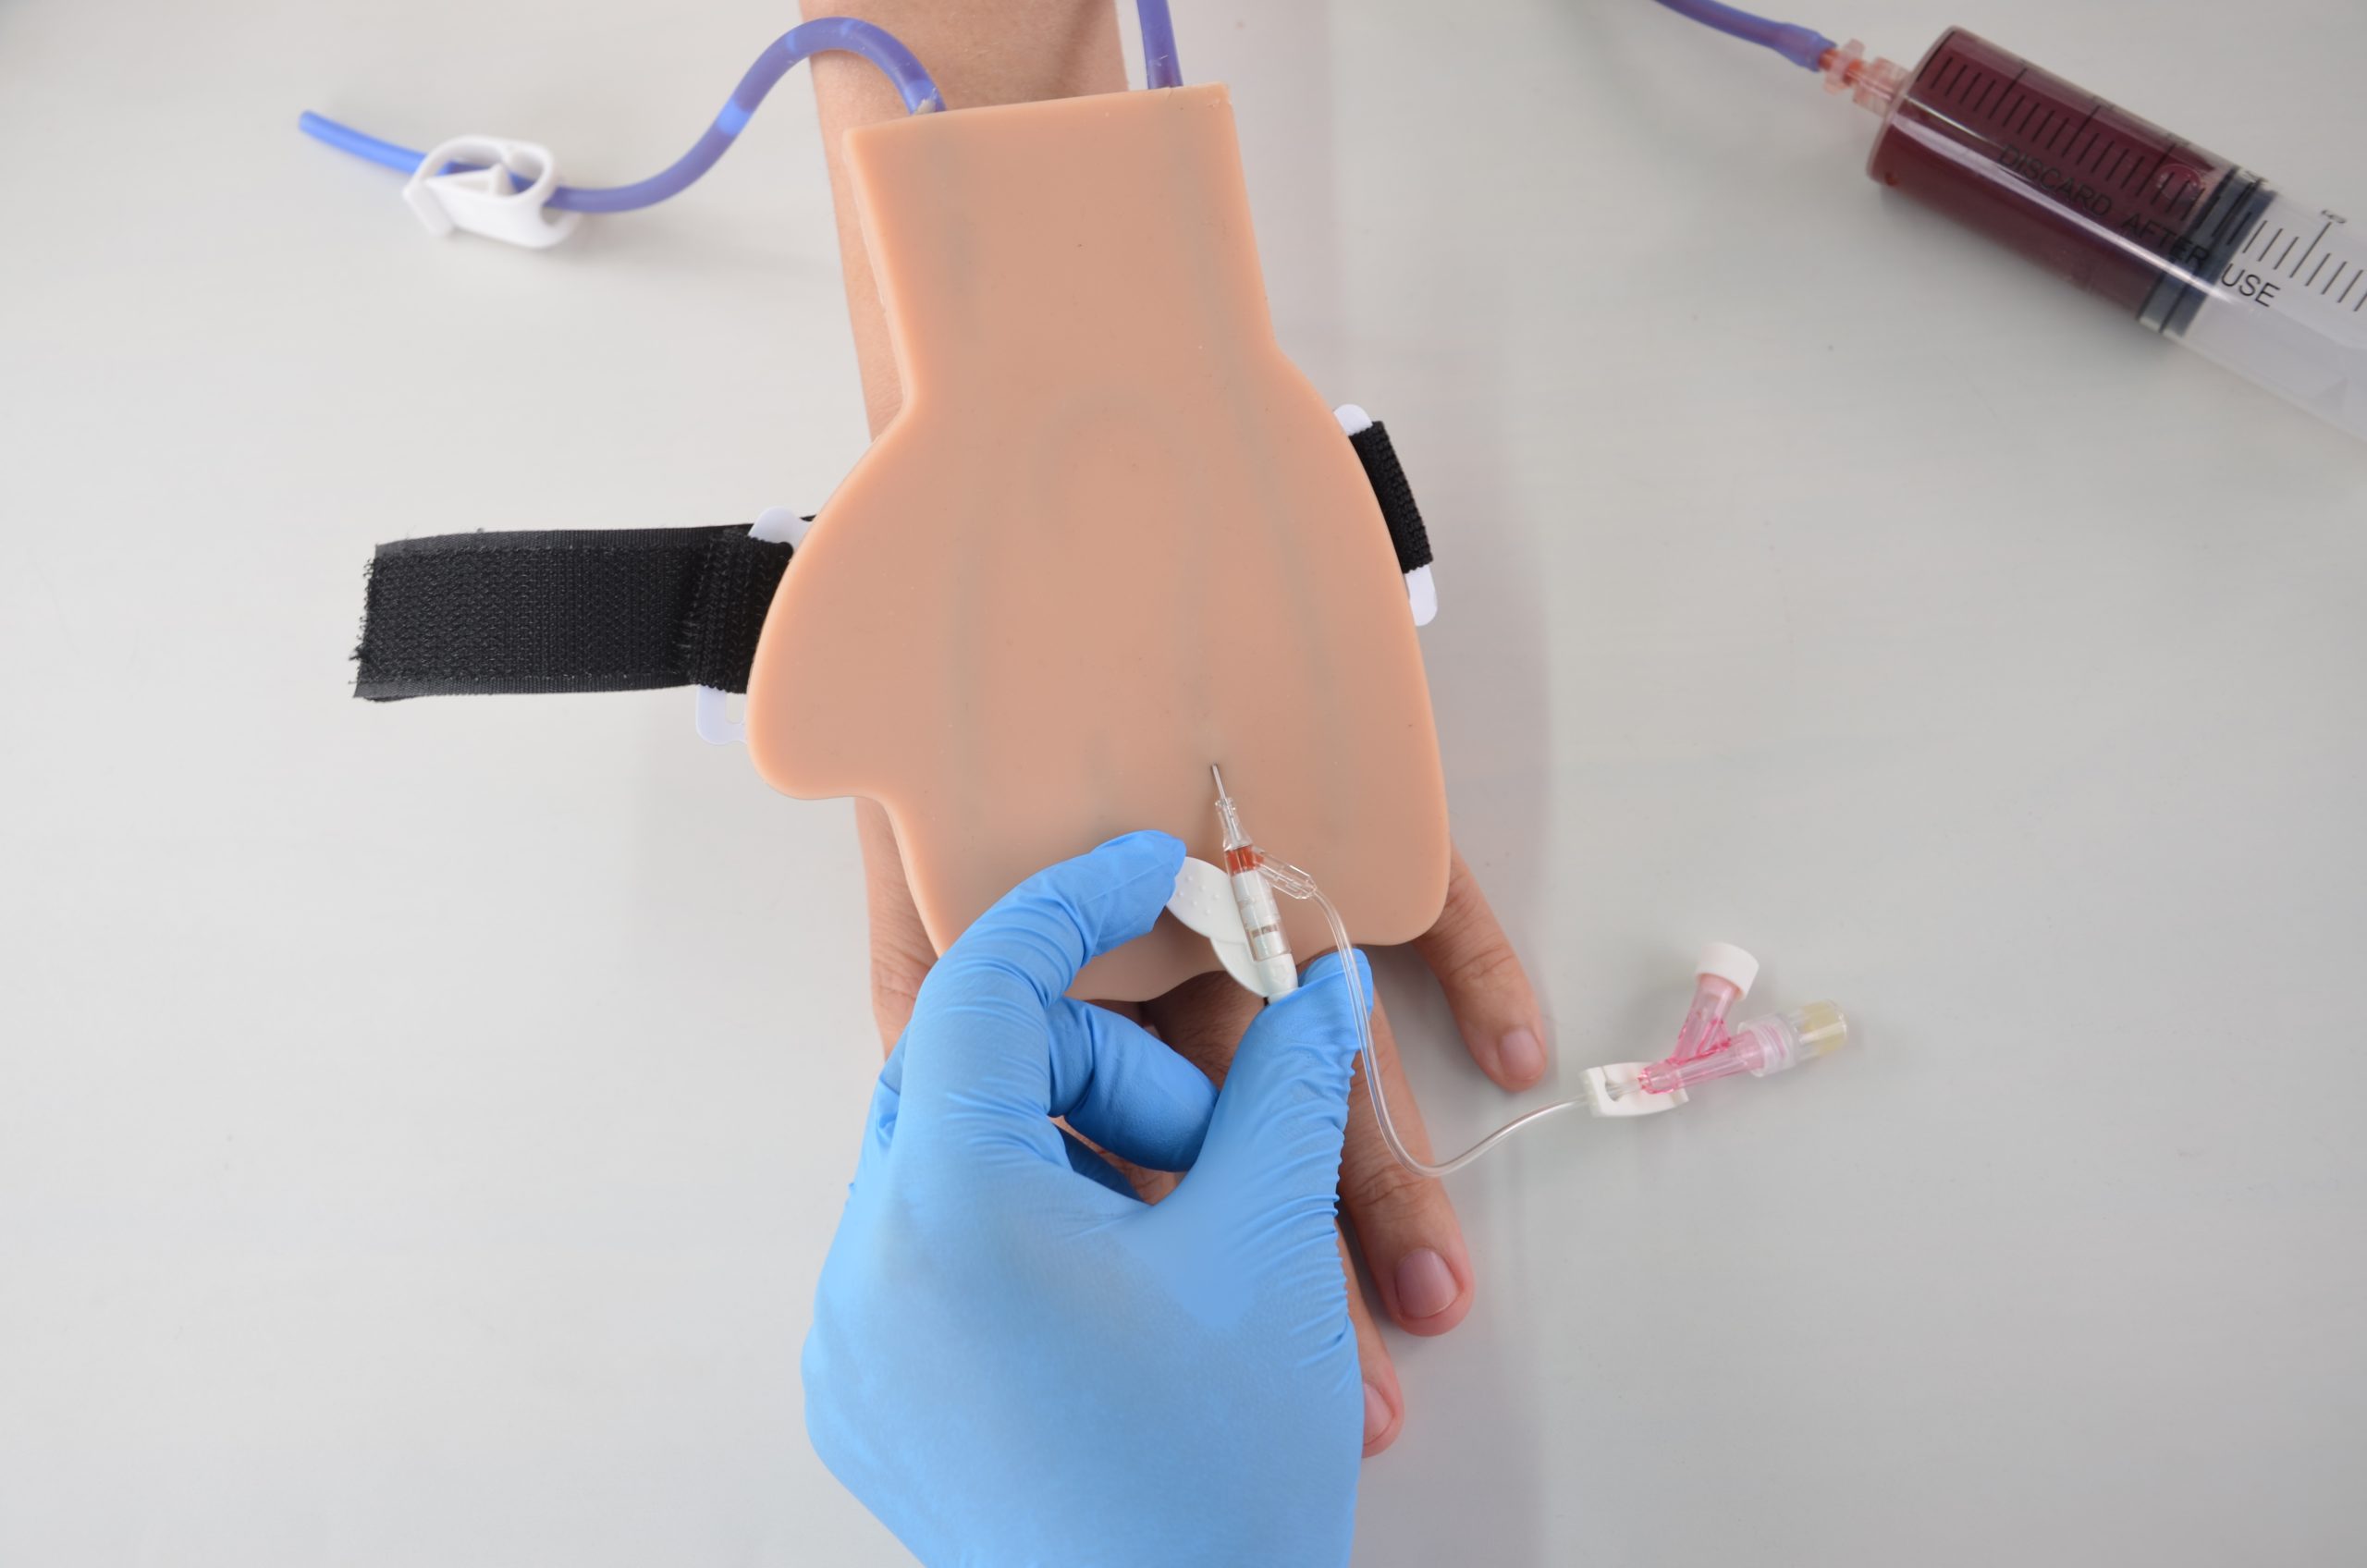
Medtacedu Wearable IV Practice Kit for Venepuncture and Catheter Access Practice

The wearable IV practice kit is suitable for blood drawing practice and indwelling needle practice. This compact training kit includes a blood infusion system in a sleeve, allowing users to experience the full procedure, including tourniquet application and fluid administration. The realistic feel of the skin and veins is designed to provide high-fidelity feedback.
Key Features:
- Wearable design for realistic training scenarios.
- Full training kit, including a simulated blood infusion system.
- Compact and easy to carry for training on the go.
- The IV pad is replaceable for repeated practice, maximizing the kits lifespan and value.
- Suitable for both venepuncture and catheter insertion techniques.
The Medtacedu kit provides the necessary tool for hands-on, high-repetition training, ensuring clinical competence before performing venipuncture on a patient.
IV Insertion Key Steps and Best Practices Summary
A quick-reference guide to the essential considerations for successful hand IV insertion.
| Phase | Best Practice | Key Anatomical Consideration | Risk Mitigation |
|---|---|---|---|
| Preparation | Gather all supplies; ensure strict hand hygiene. | Choose Metacarpal Veins; avoid joints and flexion points. | Allow CHG to dry completely before insertion. |
| Insertion | Anchor the vein firmly with distal skin traction. | Enter skin at a shallow 10-15 degree angle. | Lower angle to thread catheter; use safety needle device. |
| Confirmation | Observe blood flashback; thread the catheter fully. | Check for signs of infiltration (swelling, pain) upon flushing. | Secure immediately to prevent accidental dislodgement. |
| Training | Utilize realistic, wearable simulators (e.g., Medtacedu Kit). | Practice on a mobile, complex anatomical surface. | Build muscle memory and confidence before clinical practice. |
Frequently Asked Questions (FAQs)
A: The optimal gauge for the hand is typically 20-gauge (20G) or 22-gauge (22G). Using a smaller gauge (22G) is often preferred as it is less likely to damage the vein wall. A smaller catheter diameter means less irritation and better long-term patency, especially in the smaller, more fragile veins of the hand. Larger gauges (18G or lower) should generally be reserved for the forearm or antecubital fossa unless rapid fluid infusion is absolutely necessary.
A: Hand veins roll more because they have less surrounding subcutaneous tissue (fat) to stabilize them against the underlying bone and fascia. This lack of natural padding makes them highly mobile when pressure is applied by the needle. Effective stabilization (anchoring the skin distal to the insertion site) is thus exceptionally important when you insert IV in the hand.
A: No. If the first venipuncture attempt fails, you must select a new vein proximal to the previous site on the same limb, or move to the opposite limb entirely. Attempting a stick distal to the previously compromised site increases the risk of immediate infiltration due to leakage from the damaged vein segment.
A: Wearable kits, such as the Medtacedu Wearable IV Practice Kit, offer superior realism. They allow for practice in a dynamic, non-static scenario where the user must stabilize the vein on a flexible sleeve, closely mimicking the challenges encountered when attempting to insert IV in the hand of a real patient. This fosters better technique and tactile discrimination compared to rigid, static arm models.
References and Further Reading
- Dougherty, L. (2024). The Royal Marsden Hospital Manual of Clinical Nursing Procedures. (Chapter on Venipuncture).
- Journal of Vascular Access. (2023). Review of Peripheral IV Catheter Site Selection and Complication Rates. (Research paper on optimal insertion practices).