- Understanding the Subcutaneous Injection
- Training and Education: Medtacedu Solutions
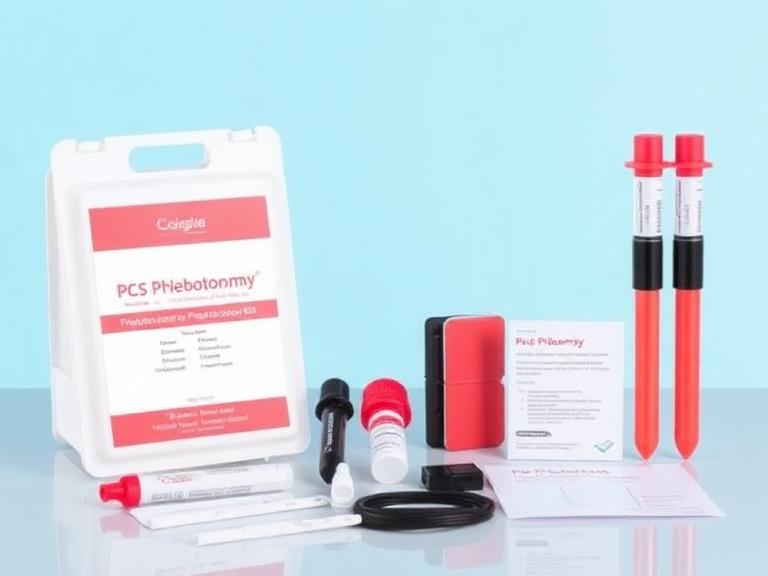
- Preparation: Supplies and Sanitation
- Site Selection: Landmarks of the Abdomen
- The 10-Step Injection Process
- Post-Injection Care and Disposal
- Summary Table: Key Injection Metrics
- Frequently Asked Questions
- References
Understanding the Subcutaneous Injection
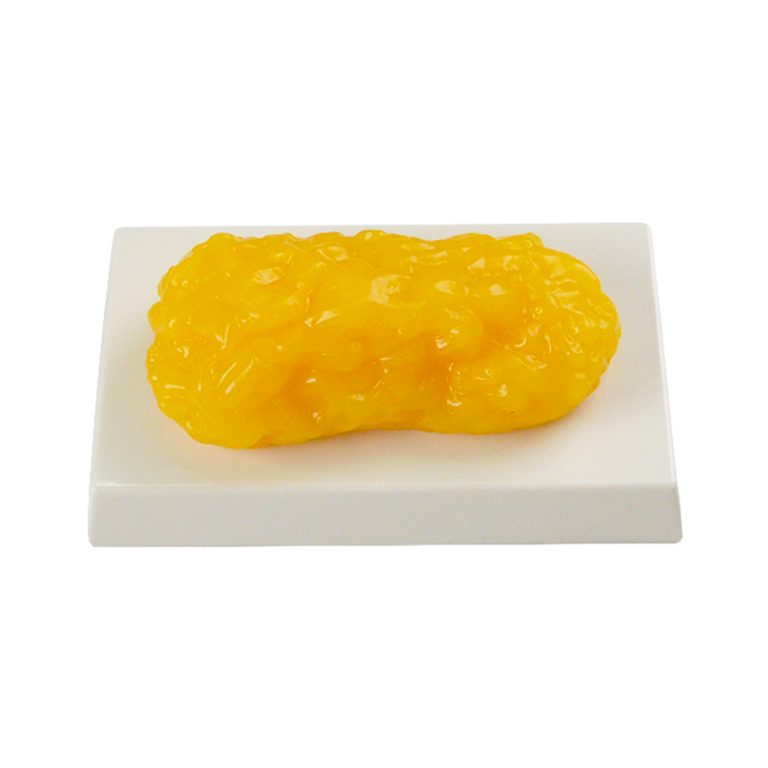
A self injection in stomach is typically a subcutaneous injection. Unlike intramuscular injections that go deep into the muscle, a subcutaneous shot delivers medication into the fatty tissue layer between the skin and the muscle. This area has few blood vessels, allowing for a slow, sustained release of the drug into the bloodstream.
In 2026, the rise of home-based healthcare has made it essential for patients to understand the mechanics of their bodies. The abdominal wall is the preferred site because it offers a large surface area of consistent fatty tissue, making it easier to rotate sites and avoid localized skin irritation. Using the correct technique for a self injection in belly ensures the medication is absorbed correctly and minimizes the risk of bruising or discomfort.
Training and Education: Medtacedu Solutions
Before attempting a self injection in belly on yourself, professional training is highly recommended. This is where specialized medical models become invaluable for both students and patients.
Expertise in Medical Training: Medtacedu
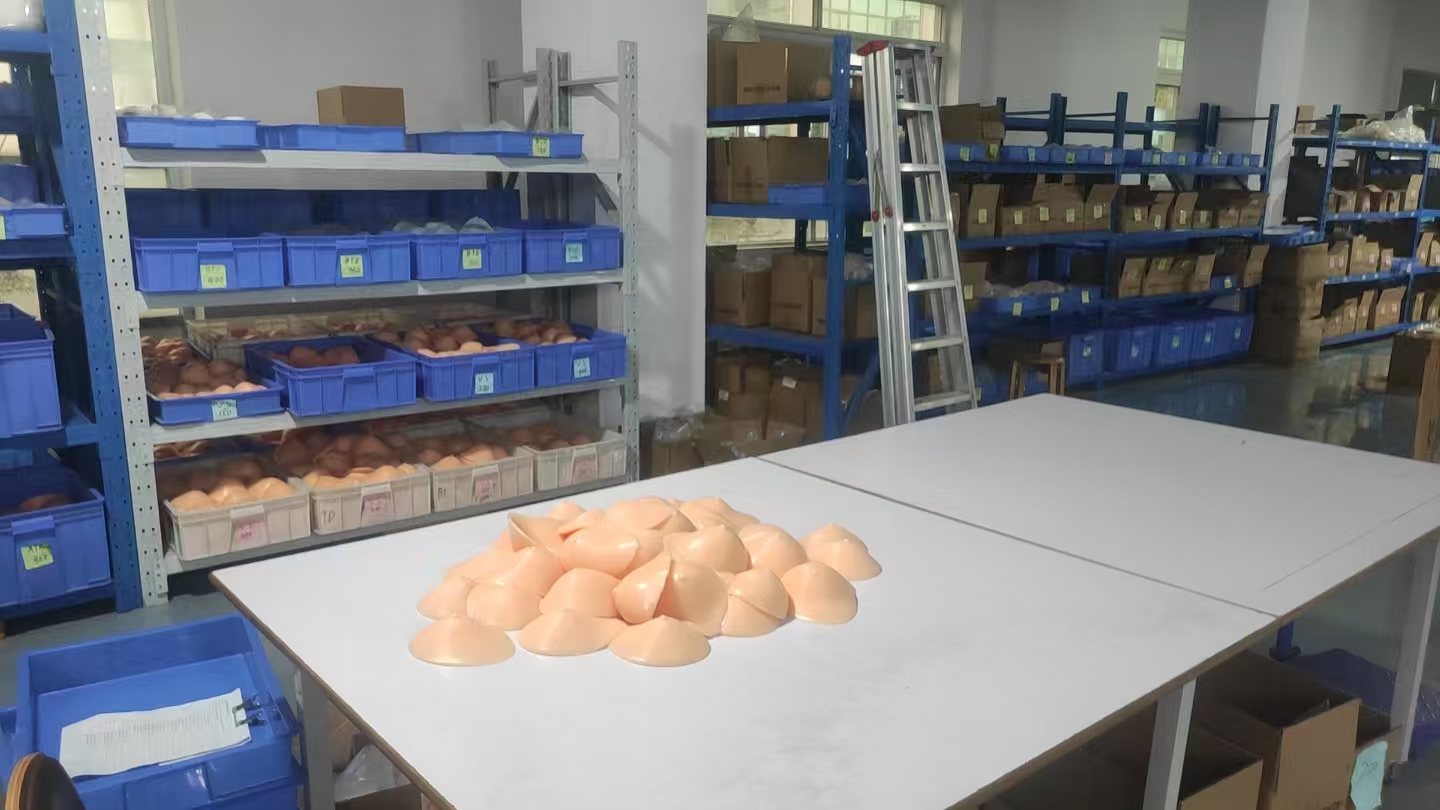
Medtacedu specializes in high-quality silicone and plastic models for tactical training, medical education, and science instruction. We offer a diverse selection of innovative educational models, ranging from standardized items to fully customizable solutions.
What Our Products Can Do:
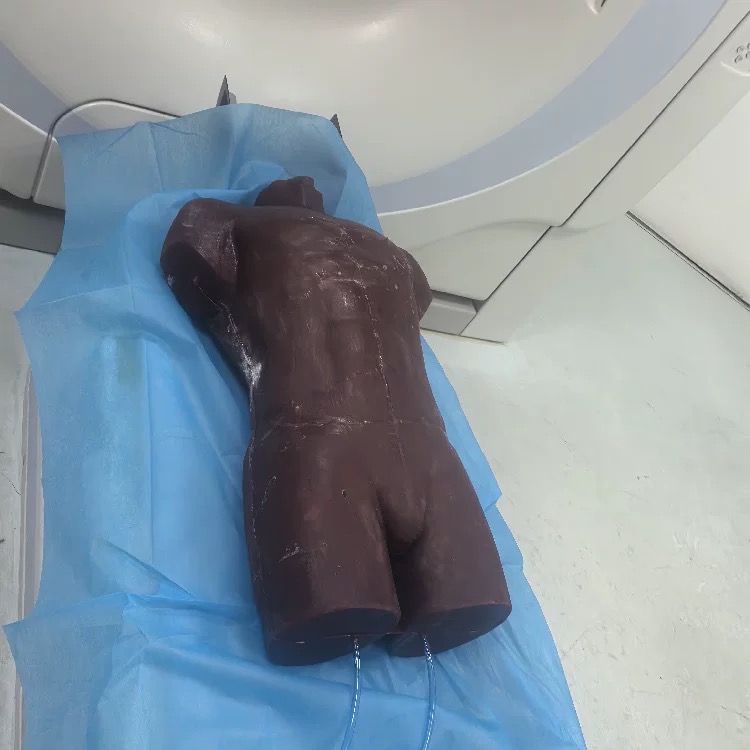
- Injection Models: We supply ID/SC/IM/IV Injection Training Models for Nursing Institutes and Facial Injection Models for dermal and Botox Injection Training. These models allow for realistic practice of a self injection in stomach without the anxiety of a real needle.
- Tactical Training: We provide wound dressing models, trauma manikins, and comprehensive tactical and emergency training kits to help professionals develop life-saving skills.
- Medical Demonstration: Our silicone models are designed to enhance medical training and device demonstrations, such as disease models and display devices.
- Science Education: We offer customizable veterinary education models and science tools tailored to specific requirements.
Why Choose Medtacedu? With over 16 years of model production experience—including more than 6 years specializing in medical models—our team has delivered high-precision projects worldwide. Whether you are a healthcare provider or a reseller, our standardized and custom models provide the realism needed for professional excellence.
Preparation: Supplies and Sanitation
Success in giving a self injection in stomach starts before the needle even touches your skin. Organization reduces anxiety and prevents infection.
Gather Your Supplies
- Vial or pre-filled syringe of medication.
- Alcohol swabs (70% isopropyl alcohol).
- Sterile gauze or a cotton ball.
- A bandage.
- Sharps disposal container.
Ensure you are in a well-lit area. Wash your hands thoroughly with soap and warm water for at least 20 seconds. If your medication was refrigerated, such as insulin or Wegovy, let it sit at room temperature for 15 to 30 minutes. Cold medication can sometimes cause a stinging sensation during a self injection in stomach.
Site Selection: Landmarks of the Abdomen
Choosing the right spot for your self injection in stomach is critical for safety and comfort. The ideal area is the fatty part of the belly, below the ribs and above the hip bones.
Rotation is the golden rule of self injection in stomach. Never inject into the exact same spot twice in a row. Imagine your stomach as a clock face or a grid; move to a different “hour” or square for each daily or weekly dose. This prevents the development of lipohypertrophy—hard lumps of fat that can block medication absorption.
The 10-Step Injection Process
Follow these steps to ensure a safe and effective self injection in stomach:
- Clean the Site: Use an alcohol swab to clean the chosen area in a circular motion, starting from the center and moving outward. Let it air dry completely; do not blow on it.
- Prepare the Syringe: Remove the needle cap by pulling it straight off. If you are using a vial, ensure you have drawn the correct dose and tapped out any large air bubbles.
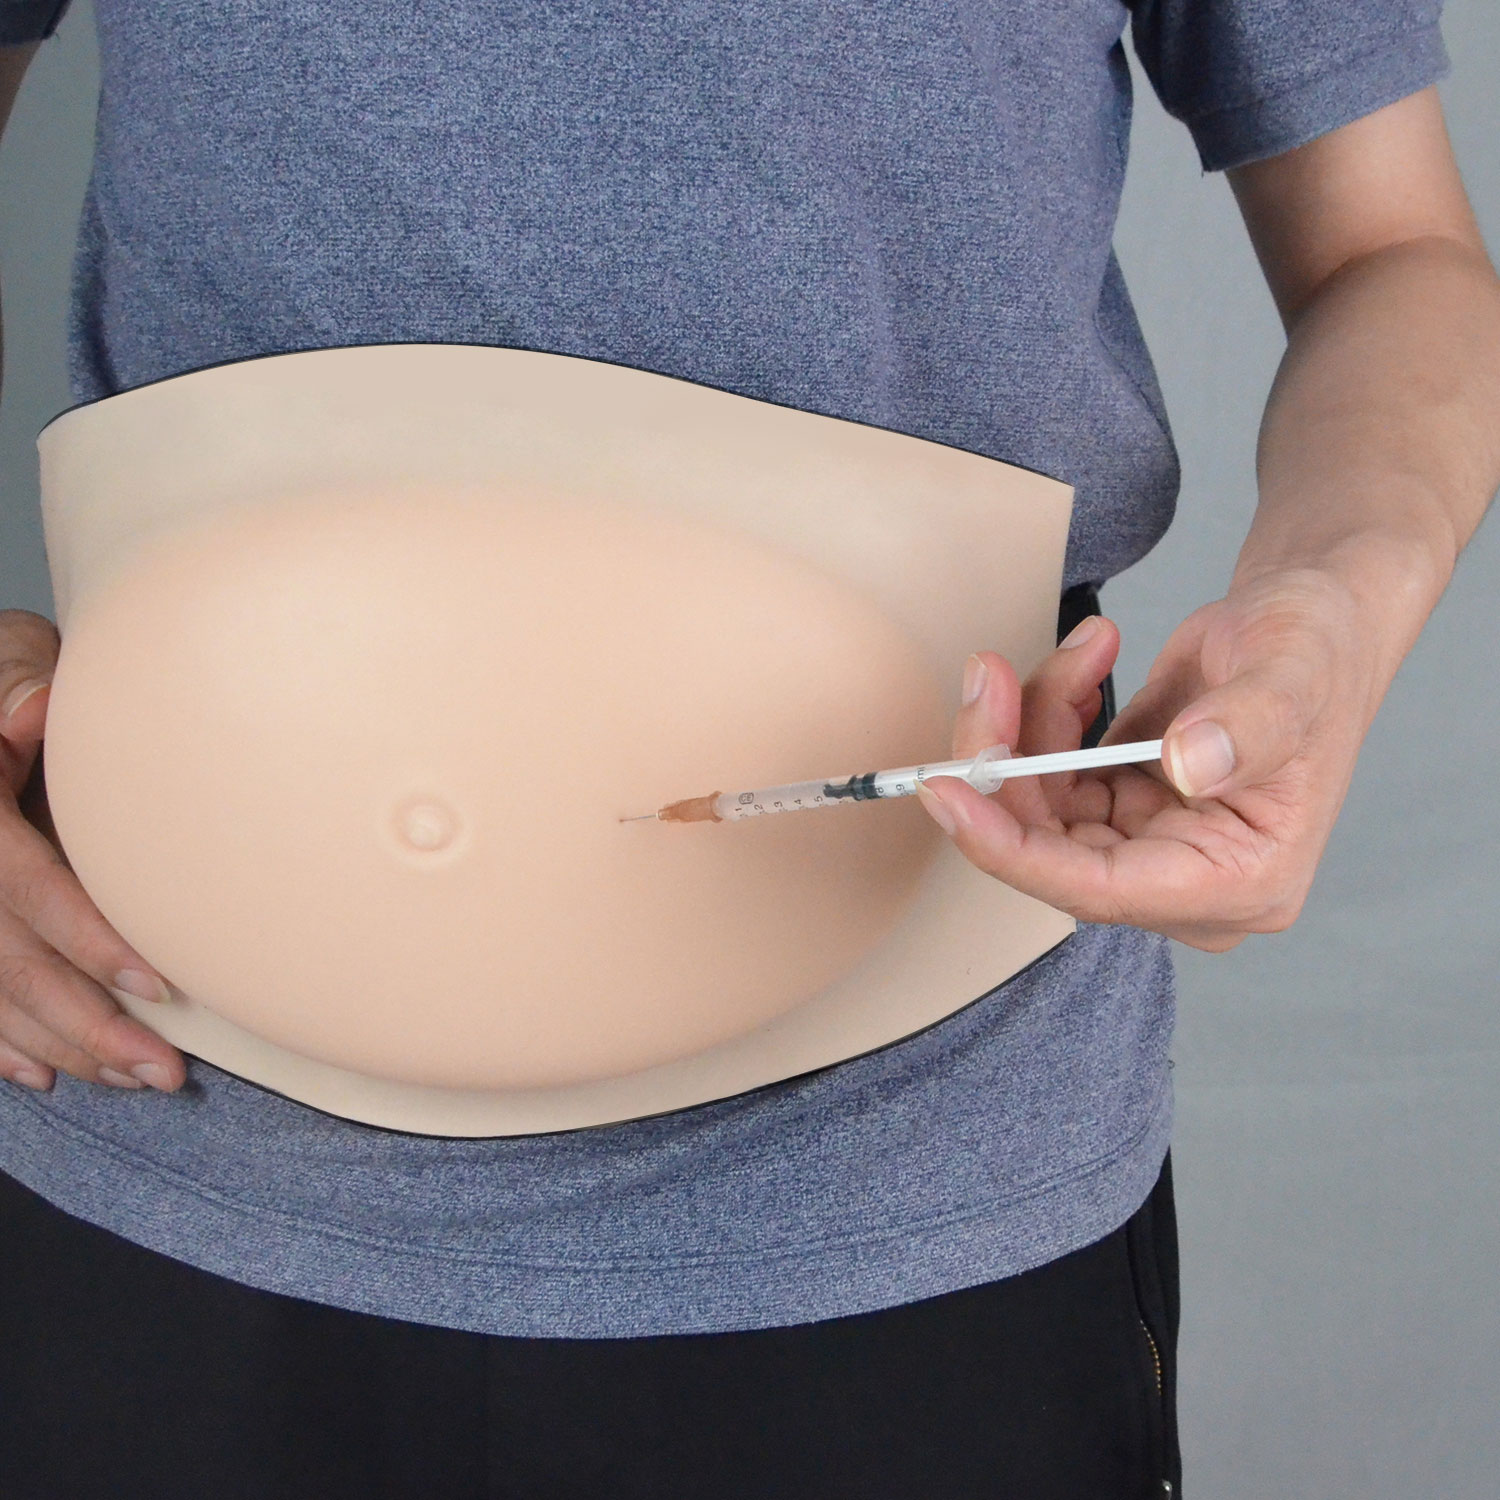
- The Pinch: Use your non-dominant hand to gently pinch a 1-to-2-inch fold of skin and fat. This pulls the subcutaneous tissue away from the underlying muscle.
- The Angle: Hold the syringe like a pencil or a dart. For most people, a 90-degree angle (straight in) is best. If you are very thin, a 45-degree angle may be recommended by your doctor.
- Insertion: Push the needle all the way into the skin in one quick, smooth motion. Do not hesitate, as slow insertion can increase pain.
- Release the Pinch: Once the needle is in, many clinicians recommend releasing the pinch to allow the tissue to settle before injecting.
- Inject: Slowly push the plunger down with your thumb or index finger until all the medication is delivered.
- The Wait: Wait about 5 to 10 seconds before withdrawing the needle to ensure the medication doesn’t leak out of the injection track.
- Withdraw: Pull the needle out at the same angle it was inserted.
- Apply Pressure: Use a clean gauze or cotton ball to apply gentle pressure to the site for a few seconds. Do not rub the area, as this can cause bruising.
Post-Injection Care and Disposal
Immediately after completing your self injection in stomach, place the used syringe or pen into a designated sharps container. Never dispose of needles in the regular trash or recycling bin. If you do not have a commercial sharps container, a heavy-duty plastic laundry detergent bottle with a screw-on lid can serve as a temporary alternative, provided it is labeled clearly.
Check the site for any immediate redness or swelling. While a tiny drop of blood or a small bruise is normal, significant pain or a rash should be reported to your healthcare provider. Mastering the self injection in stomach is a skill that improves with practice, but always prioritize safety and hygiene.
Summary Table: Key Injection Metrics
| Feature | Recommended Specification | Reasoning |
|---|---|---|
| Needle Gauge | 25G to 31G | Thinner needles reduce pain for self injection in stomach. |
| Needle Length | 4mm to 8mm | Ensures medication reaches subcutaneous fat, not muscle. |
| Injection Angle | 45° or 90° | 90° is standard; 45° is used for thin patients to avoid muscle. |
| Distance from Navel | At least 2 Inches | Avoids dense vascular and connective tissue around the belly button. |
| Rotation Gap | At least 1 Inch | Prevents tissue scarring and ensures consistent absorption. |
Frequently Asked Questions
Does a self injection in stomach hurt?
Most patients report very little pain. The abdomen has fewer nerve endings than the extremities. Using a thin needle and allowing the alcohol to dry completely before injecting significantly reduces any stinging sensation.
What if I see an air bubble in the syringe?
For small subcutaneous injections, a tiny air bubble is usually harmless. However, you should gently tap the syringe so the bubble rises to the top and push the plunger slightly to expel it before giving your self injection in stomach. If you are using a pre-filled Lovenox syringe, do not expel the air bubble; it is designed to be there.
Can I give a self injection in stomach through my clothes?
No. You must always inject directly into clean, bare skin. Injecting through clothing increases the risk of infection and can dull the needle, making the self injection in stomach more painful.
How can I practice without using real medication?
Using a training model is the best way to gain confidence. Models like those from Medtacedu provide a realistic skin-like texture that mimics human tissue, allowing you to perfect your angle and pressure before the real thing.