
Introduction
For veterinary students and technicians, the first time you hold a catheter over a live patient can be nerve-wracking. The pressure to succeed on the first attempt is immense—not just for your confidence, but for the animal’s comfort.
This is where a Dog IV training leg becomes a game-changer. By building muscle memory in a stress-free environment, you can transition from a nervous novice to a clinical pro. In this guide, we’ll walk through how to maximize your practice using a canine simulation model.
Why Use a Dog IV Training Leg?
Why Use a Dog IV Training Leg?
Many clinics traditionally taught staff by “practicing on the job.” However, modern veterinary medicine is shifting rapidly towards simulation-based learning.
According to the American Animal Hospital Association (AAHA) Fluid Therapy Guidelines, proper venous access is critical for patient safety and effective treatment. They emphasize that clinical proficiency is the foundation of successful fluid therapy.
Furthermore, research published in the Journal of Veterinary Medical Education (or similar .gov resources) highlights that students who utilize high-fidelity simulation models, such as a dedicated dog IV training leg, demonstrate significantly higher success rates and lower patient distress during their first live clinical procedures compared to those using traditional methods.
- Realistic Feedback: High-quality models simulate the “pop” or “give” felt when a needle enters the vein.
- Flashback Confirmation: Just like a real patient, a good canine IV simulator provides a visual “flashback” of blood.
- Risk-Free Failure: You can blow a vein, misplace a catheter, or practice difficult angles 100 times without ever causing pain to a dog.
Step-by-Step: Practicing Catheterization on a Simulator
1. Preparation and Setup
Before you begin, gather your supplies:
- A Dog IV training arm/leg (like the MedTacEdu series).
- Correct size catheters (20g or 22g are standard for medium dogs).
- Adhesive tape and IV fluids.
2. Identifying the Anatomy
On a real dog, you’d be looking for the Cephalic Vein. When using your Dog IV training leg, start by palpating the simulated limb. Feel for the vessel’s path. Even though it’s a model, treat it with the same anatomical respect you would a live patient.

3. The “Flashback” Moment
Insert the needle at a 15 to 25-degree angle. One of the biggest advantages of a professional training leg is the simulated blood flow.
Pro Tip: Once you see the “flash” in the hub, drop your angle slightly and advance the catheter off the stylet. This prevents “blowing” the back wall of the vein.
4. Securing the Site
Practice your taping technique. A messy tape job is a leading cause of catheter failure in clinics. Use the simulator to practice the “chevron” wrap or the “H-tape” method until you can do it one-handed.
Choosing the Right Canine IV Simulator
Not all training models are created equal. When shopping for a Dog IV training leg, look for these three essential features:
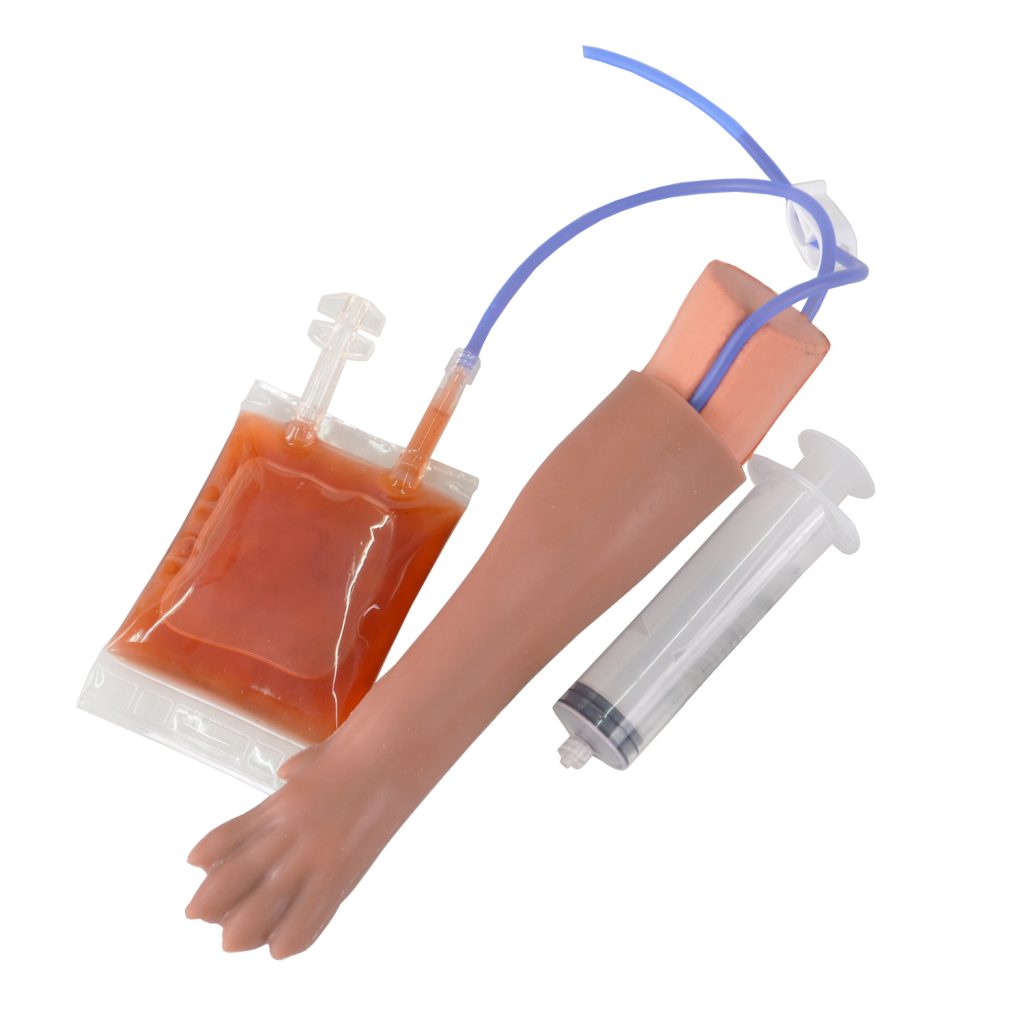
- Self-Healing Skin: The material should withstand hundreds of punctures without leaking.
- Complete Training Kit: with necessary training tools to simulate blood infusion.
- Realistic Resistance: The “skin” should feel like skin, not hard plastic.
- Portability: Training tools should be easy to carry, easy to set up
- Anatomical accuracy: Does it include accurate cephalic veins anatomy?
Conclusion: Practice Makes Perfect
The goal of using a Dog IV training leg isn’t just to learn where the vein is—it’s to automate your hand movements so that when you are in a real emergency, your hands know exactly what to do.
References:
- Davis, H., et al. “2013 AAHA/AAFP Fluid Therapy Guidelines for Dogs and Cats.” Journal of the American Animal Hospital Association.
- National Center for Biotechnology Information (NCBI). “The role of simulation in veterinary clinical skills training.”