A heel stick looks simple, but doing it well — getting enough blood, with minimal pain, and without injuring the baby — comes down to two things above all: the right site and the right depth. This guide walks through where to puncture, how deep, and the full step-by-step technique for an infant heel stick (capillary blood sampling). It’s the clinical companion to our parent-facing guide on what a newborn heel stick is and why it’s done.
Important: This article is educational and written for nursing and healthcare students and clinicians who perform heel sticks under appropriate training and supervision. It is not instructions for parents to draw blood at home.
Choosing the Right Site
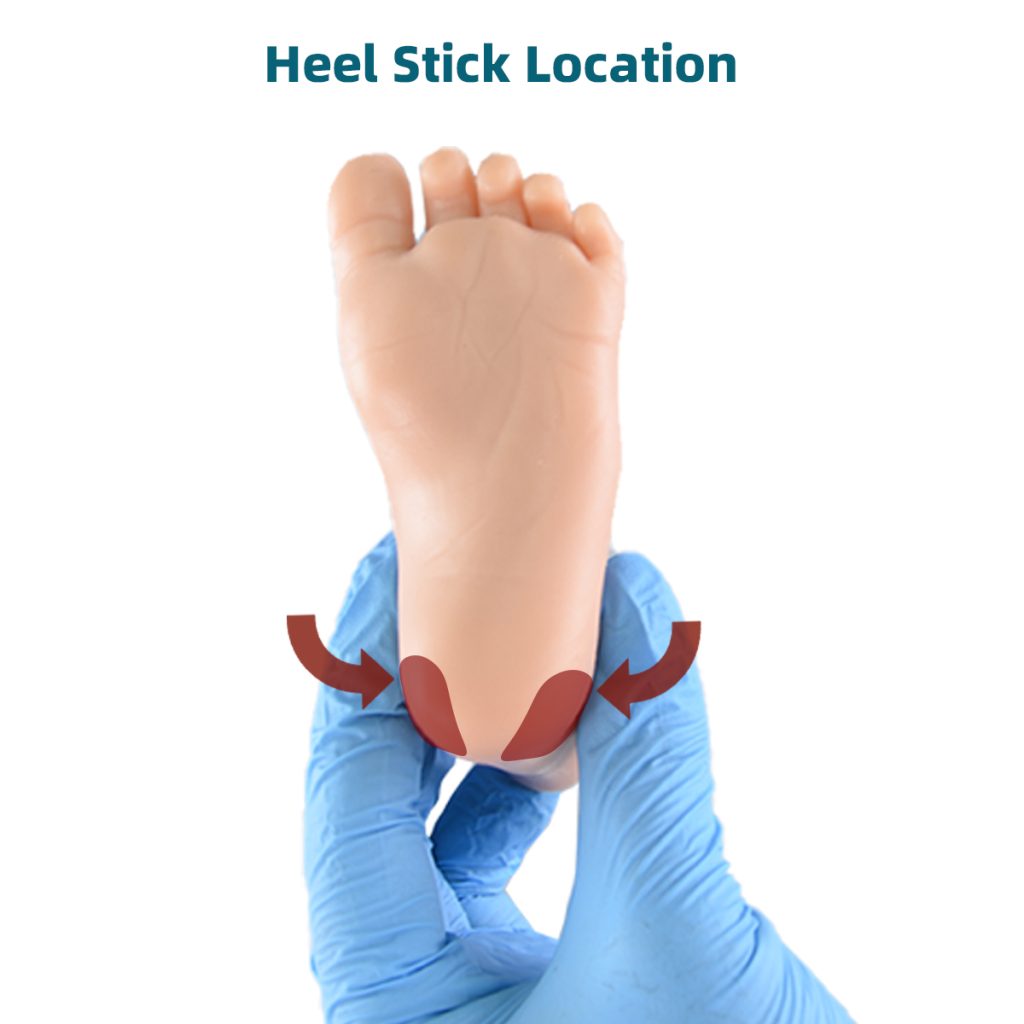
The single most important safety rule is where you puncture. The blood is taken from the plantar (sole) surface of the heel, on the medial or lateral edges — never the center or the back curve of the heel.
- Safe zones: the medial and lateral portions of the plantar heel — the soft pads to either side of an imaginary line.
- Avoid the center of the heel and the posterior curvature (the back). The bone (calcaneus) is closest to the surface there, and puncturing toward it risks injuring the bone.
- Avoid previous puncture sites, swollen, bruised, or infected skin, and the arch of the foot (where you can damage nerves and tendons).
Picturing the heel divided into safe outer zones, with a “no-go” area down the middle and across the back, is the mental model most courses teach.
How Deep? Why Depth Matters
Depth is the other critical safety factor. The puncture must be shallow — generally no more than about 2.0 mm in a term newborn (shallower in preterm infants).
Going too deep risks reaching the calcaneus (heel bone), which can cause pain, poor healing, and — rarely but seriously — bone infection (osteomyelitis). This is exactly why automatic, spring-loaded lancet devices are the standard: they control the depth precisely and consistently, far more safely than a manual lancet. Choose the device size rated for your patient (there are separate preemie/newborn/infant settings).
Equipment You’ll Need
- An automatic (incision/lancet) device of the correct size for the baby.
- Gloves and alcohol/antiseptic wipes.
- Sterile gauze.
- The collection device — a blood-spot card (for newborn screening) or capillary tubes/microcontainers.
- A heel warmer or warm cloth.
- Comfort measures: sucrose solution, the chance for the parent to hold or breastfeed.
Step-by-Step Technique
- Verify the order and identify the baby, and gather your equipment.
- Warm the heel for about 3–5 minutes with a warm cloth or commercial warmer. This boosts blood flow and reduces the number of punctures needed.
- Position the baby and lower the foot below heart level to help blood pool in the heel.
- Clean the site with alcohol and let it dry completely — residual alcohol stings and can hemolyze the sample.
- Puncture the medial or lateral heel with the automatic device held against the skin.
- Wipe away the very first drop with gauze (it’s mixed with tissue fluid and can skew results).
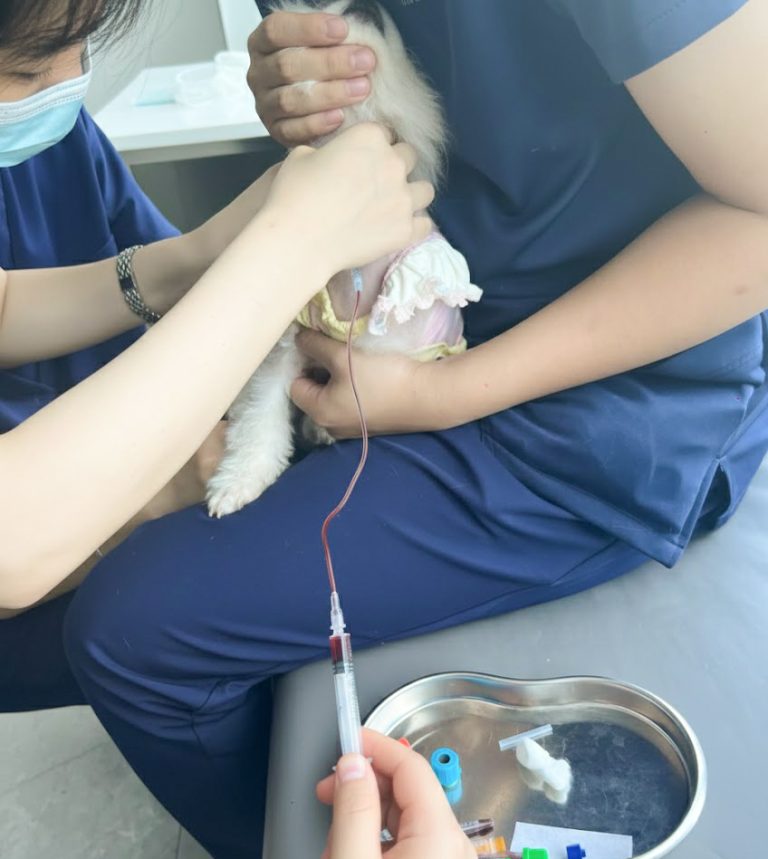
- Collect the sample — let drops form and gently touch them to the card circles or capillary tube. Let the blood flow rather than squeezing.
- Avoid hard squeezing or “milking,” which causes hemolysis (and a rejected sample) and bruising.
- Apply gentle pressure with gauze, then a small bandage, and comfort the baby.
- Label and handle the sample correctly — for blood-spot cards, let them air-dry as directed before sending.
Comfort and Pain Reduction
Pain control isn’t optional — it’s part of doing the procedure properly. Evidence-based measures include breastfeeding or skin-to-skin contact, a sucrose solution on a pacifier, swaddling, and warming the heel. Using an automatic device and a good technique (so you don’t need repeat sticks) is itself one of the best ways to reduce pain.
Common Mistakes and Complications
- Going too deep / using the center of the heel — the main risk, potentially reaching bone.
- Squeezing too hard — causes hemolysis and an unusable, possibly repeated, sample.
- Not letting alcohol dry — stings and contaminates the sample.
- Inadequate warming — leads to poor flow and multiple punctures.
- Infection or bruising — uncommon with good technique and a fresh site each time.
Most complications trace back to site or depth, which is why those two fundamentals are worth drilling until they’re automatic.
Training and Simulation
Because the safe site and depth are so specific — and the consequences of getting them wrong fall on a newborn — heel sticks are an ideal skill to rehearse on a simulator first. Practicing site selection, device placement, and drop collection on a realistic infant heel builds the muscle memory to get a clean sample on the first try, with minimal distress to the baby.
Frequently Asked Questions (FAQ)
Which part of the heel is safe to puncture?
The medial and lateral plantar surfaces — the soft areas on either side of the heel. Avoid the center and the back curve, where the heel bone is closest to the skin, and avoid the arch of the foot.
How deep should an infant heel stick be?
Shallow — generally no more than about 2.0 mm in a term newborn, and less in preterm babies. Automatic lancet devices are used precisely because they control this depth and keep the puncture clear of the bone.
Why warm the heel before the stick?
Warming for a few minutes increases blood flow to the area, so the sample is easier to collect and fewer punctures are needed — which also means less pain for the baby.
Why discard the first drop of blood?
The first drop is mixed with tissue fluid and any residual antiseptic, which can distort results. Wiping it away and collecting from the next drops gives a cleaner, more accurate sample.
Why shouldn’t you squeeze the heel hard?
Hard squeezing or “milking” ruptures red blood cells (hemolysis), which can make the sample unusable and require a repeat stick, and it also bruises the heel. Letting the blood flow with gentle technique works better.
Sources
- Clinical and Laboratory Standards Institute (CLSI) — Capillary blood collection guidance
- World Health Organization (WHO) — Guidelines on drawing blood (heel puncture in newborns)
- American Academy of Pediatrics (AAP) — Newborn screening sample collection
- StatPearls / NCBI Bookshelf — Heel Stick (capillary blood sampling): technique and complications
- NHS — Newborn blood spot test (sampling)
This article is for clinical education only and is not a substitute for accredited, supervised training. Heel sticks are performed by trained healthcare staff; this is not a guide for parents to collect blood at home.
🩺 For Students, Nurses, and Training Teams
Site and depth are exactly the things that benefit from hands-on repetition. Our Newborn Heel Stick Simulator lets learners practice safe-zone puncture, warming, and drop collection on a realistic infant heel — building consistency before the first real patient.